Demo + Links
- gopro-telemetry-dashware-formatter on GitHub
- pi-tach-reader on GitHub
Overview

Every in-car video of performance driving should look like a video game. I love the look of a half-dozen gauges updating me on everything that the footage alone doesn’t convey: G-forces, course maps, speed, driver inputs, engine RPM - anything missing that I would be able to sense behind the wheel. Videos with this extra data are more interesting to watch and are more useful as tools for improvement.
Professional data loggers are expensive, but much of what they record could be captured by equipment already available to me, like my camera and my car’s computer. I just needed a way to access it.
This project was split into two main parts. The first was a NodeJS script to extract telemetry data from videos shot with my GoPro and make it available to DashWare, and the second was a device combining a Raspberry Pi, some circuitry, and a Python script to read and save signals from the car’s gauge cluster.
The GoPro
Newer GoPros (5+; I’m using a Hero 8 Black) record GPS, gyroscope, and accelerometer metadata alongside videos, which would be useful for creating maps, speedometers, and G-force meters in DashWare.
“Would” be useful?
Well, despite DashWare being owned by GoPro, this GPMF data can’t be imported. It looks like this worked at one time, but has broken for some cameras.
Fortunately, this library exists for NodeJS - which means it can be extracted and formatted into a CSV that DashWare can use!
Problems to solve:
-
Getting the video data
This was solved by the use of these two libraries: gpmf-extract and gopro-telemetry.
-
Smoothing out the data
The raw accelerometer data was useless. The car is a bumpy place; the camera is atop a little plastic stand stuck to a suction cup. It wiggles.
We don’t really care about these high-frequency wiggles; what matters are the low-frequency changes. Averaging values over time creates a low-pass filter that should retain the low-frequency changes that track the car’s movement, without capturing as much of the camera’s movement relative to the car.
gopro-telemetryprovides asmoothoption that does this well. -
Compressing files to avoid a file size limit
I then encountered a problem that
gopro-telemetrydoesn’t solve - the script fails when given a video file over 2GB.This appears to be a limitation of Node, but we can work around that via another great tool - ffmpeg. Because the input video file for the script is only used for its metadata and ffmpeg doesn’t impact that data, we can use compression to remain under that 2GB limit. The script creates a compressed copy of the input video with ffmpeg, that copy is used for extracting data, and the original remains for creating the final video in Dashware.
-
Getting the script to run when a file is dragged onto it
Batch scripts in Windows have this great feature where you can drag a file on top of them to pass the file into the script as an argument, which seemed ideal for this use case. Import the video files, drag them onto the batch file, load the node script, and output the file, all without opening up a shell.
This was not that easy. There isn’t much documentation out there about specifically launching node scripts from batch files by dropping files onto them. In each method I tried, node would attempt to include the input file in a
require()statement and would fail to run. This was the case no matter what the node script was - it was failing before it even started running the script.Windows also will execute binary (.exe) applications with files as arguments from drag-and-drop, so as a last-ditch effort I tried packaging the app as a binary with
pkg- and that did the trick. I’d really prefer a solution that didn’t require compiling a node script into a binary, but because DashWare is already Windows-only, it’s not too big of a compromise. Also, the script can still run via command line on other operating systems; they just won’t have the drag-and-drop functionality.
-
Importing it into DashWare
DashWare allows users to create custom data templates for importing CSVs with varying structures. I created these templates and checked them into my repo alongside the script.
Coming Together
This video was made using the finished script. It was shot using only a GoPro Hero 8 and edited together using this script and other free software.
The Tachometer
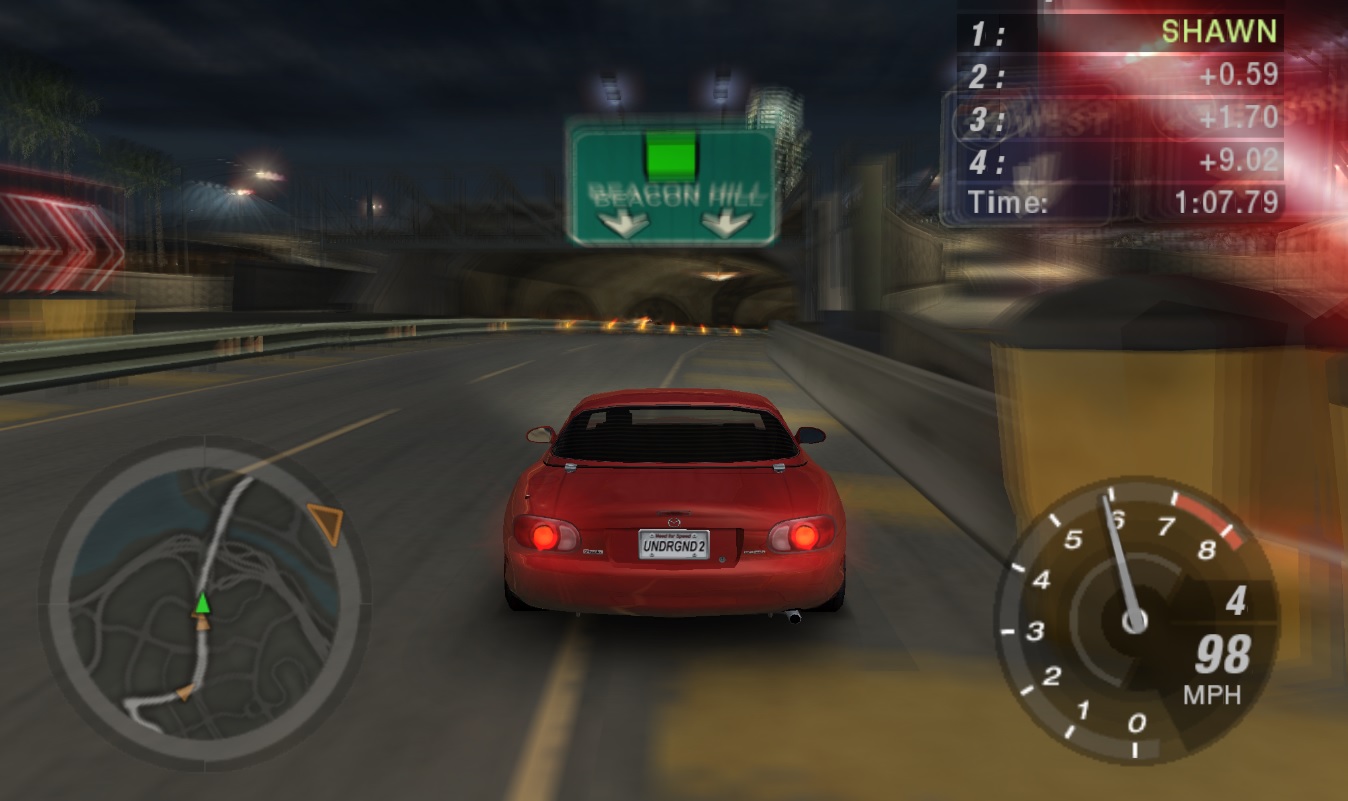
Of onscreen gauges, nothing is as critical to me as a tachometer. Maybe it’s because my adolescent self etched hundreds of hours of Need For Speed: Underground 2 into my brain, conditioning me to link the pitch of a motor and a dial onscreen to the sensation of speed, or maybe I’m pretending it’s not that and that I just want to know if I’m short-shifting or something. Either way, I needed to have an onscreen tachometer in my videos.

One way to accomplish this is to log data from an OBDII reader. This approach works well on modern cars, but not so well for my track car, a 1997 Mazda Miata. ‘96 and ‘97 Miatas have OBDII, so it’s possible, but their computers just aren’t fast enough to get an acceptable refresh rate. The refresh rate drops even further with each type of information that’s read, leading to either videos with very choppy gauges that update every second or so, or an inaccurate mess from interpolation.
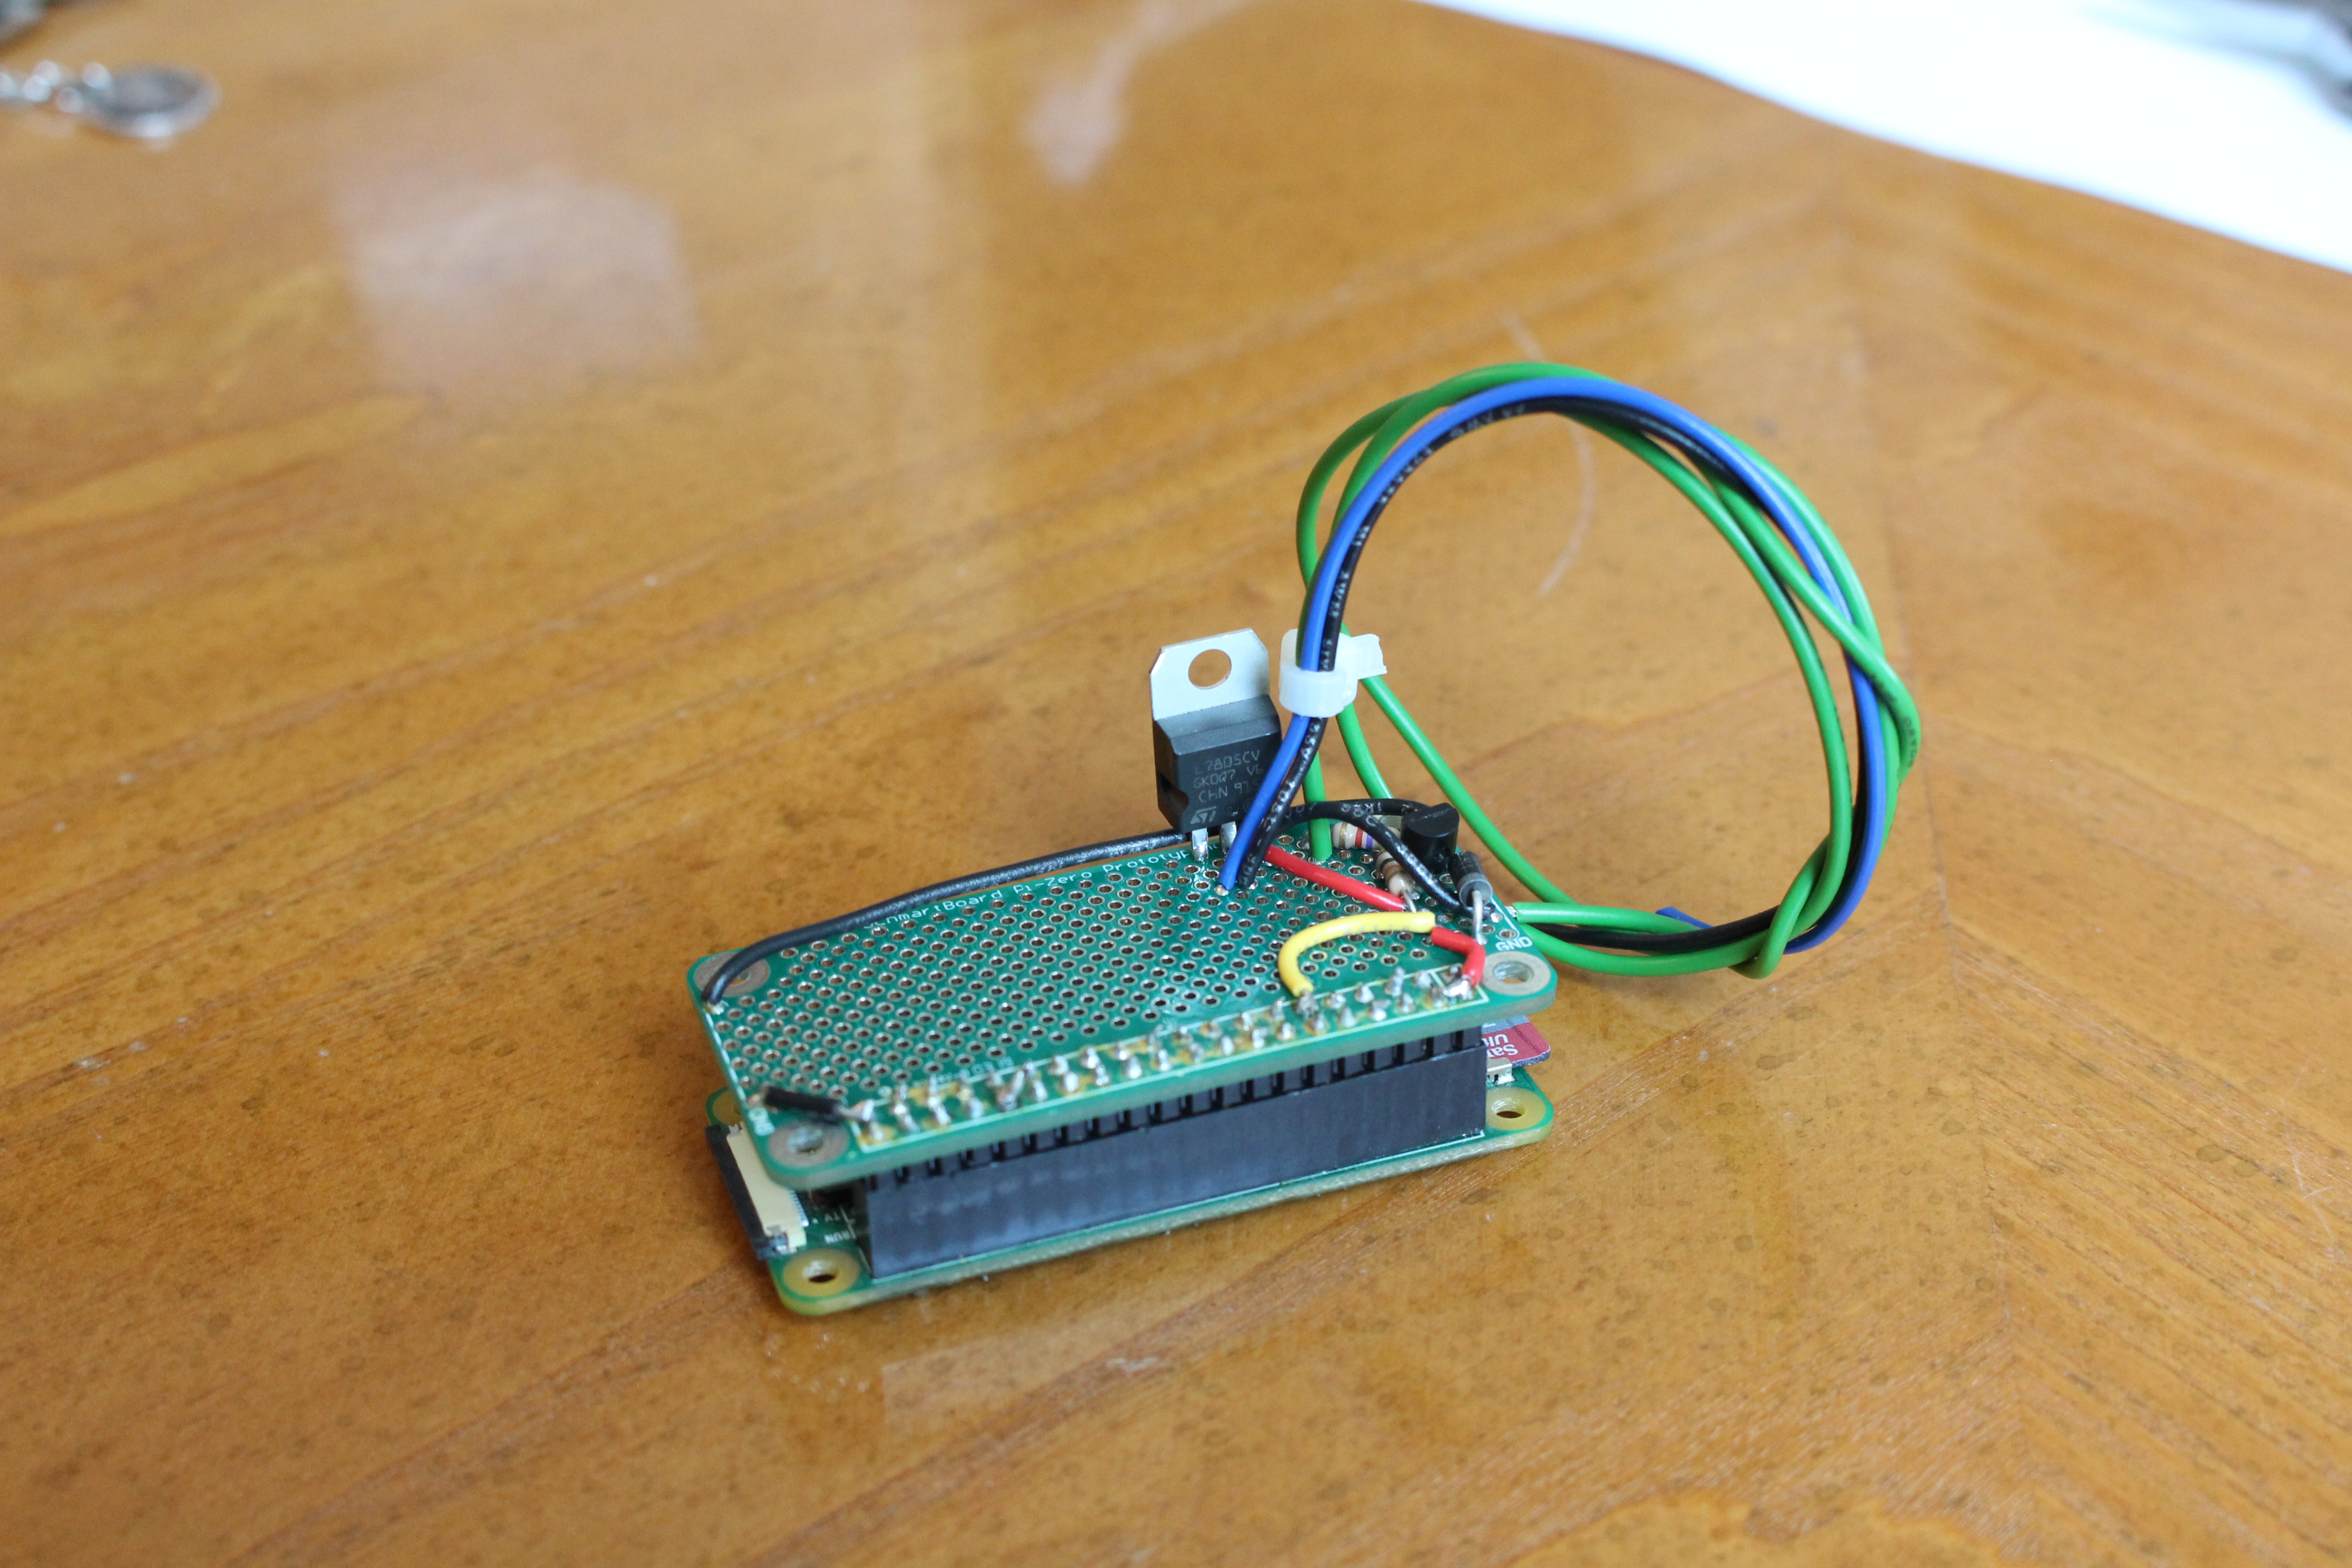
The solution: a Python script running on a Raspberry Pi, paired to a circuit to safely read the Miata’s gauge cluster tachometer signal.
Parts List
Any of these parts can be substituted for similar items.
| Part | Description | approx cost |
|---|---|---|
| Raspberry Pi Zero W | Main board | $10-15 |
| Schmartboard Pi Zero | Circuit board, built for Pi Zero | $10 |
| L7805CV | Voltage regulator | $0.49 |
| 1N004RLG | Diode | $0.19 |
| 2N4401BU | NPN transistor | $0.29 |
| GPIO pins | $0.95 | |
| GPIO socket | $1.50 |
Total: ~$25 USD
Research
One of the best things about owning a Miata is that if you have an idea for something to do with yours, someone else out there has figured out how to do the hard stuff already. I’m a software developer, not an electrical engineer, so this project wouldn’t have been possible without running into this schematic from this post. The circuit steps the tachometer signal wire on the back of the gauge cluster down to a lower voltage that can be sent to an arduino (or in my case, a raspberry pi) without damaging it or disabling the tachometer.
Problems to solve:
-
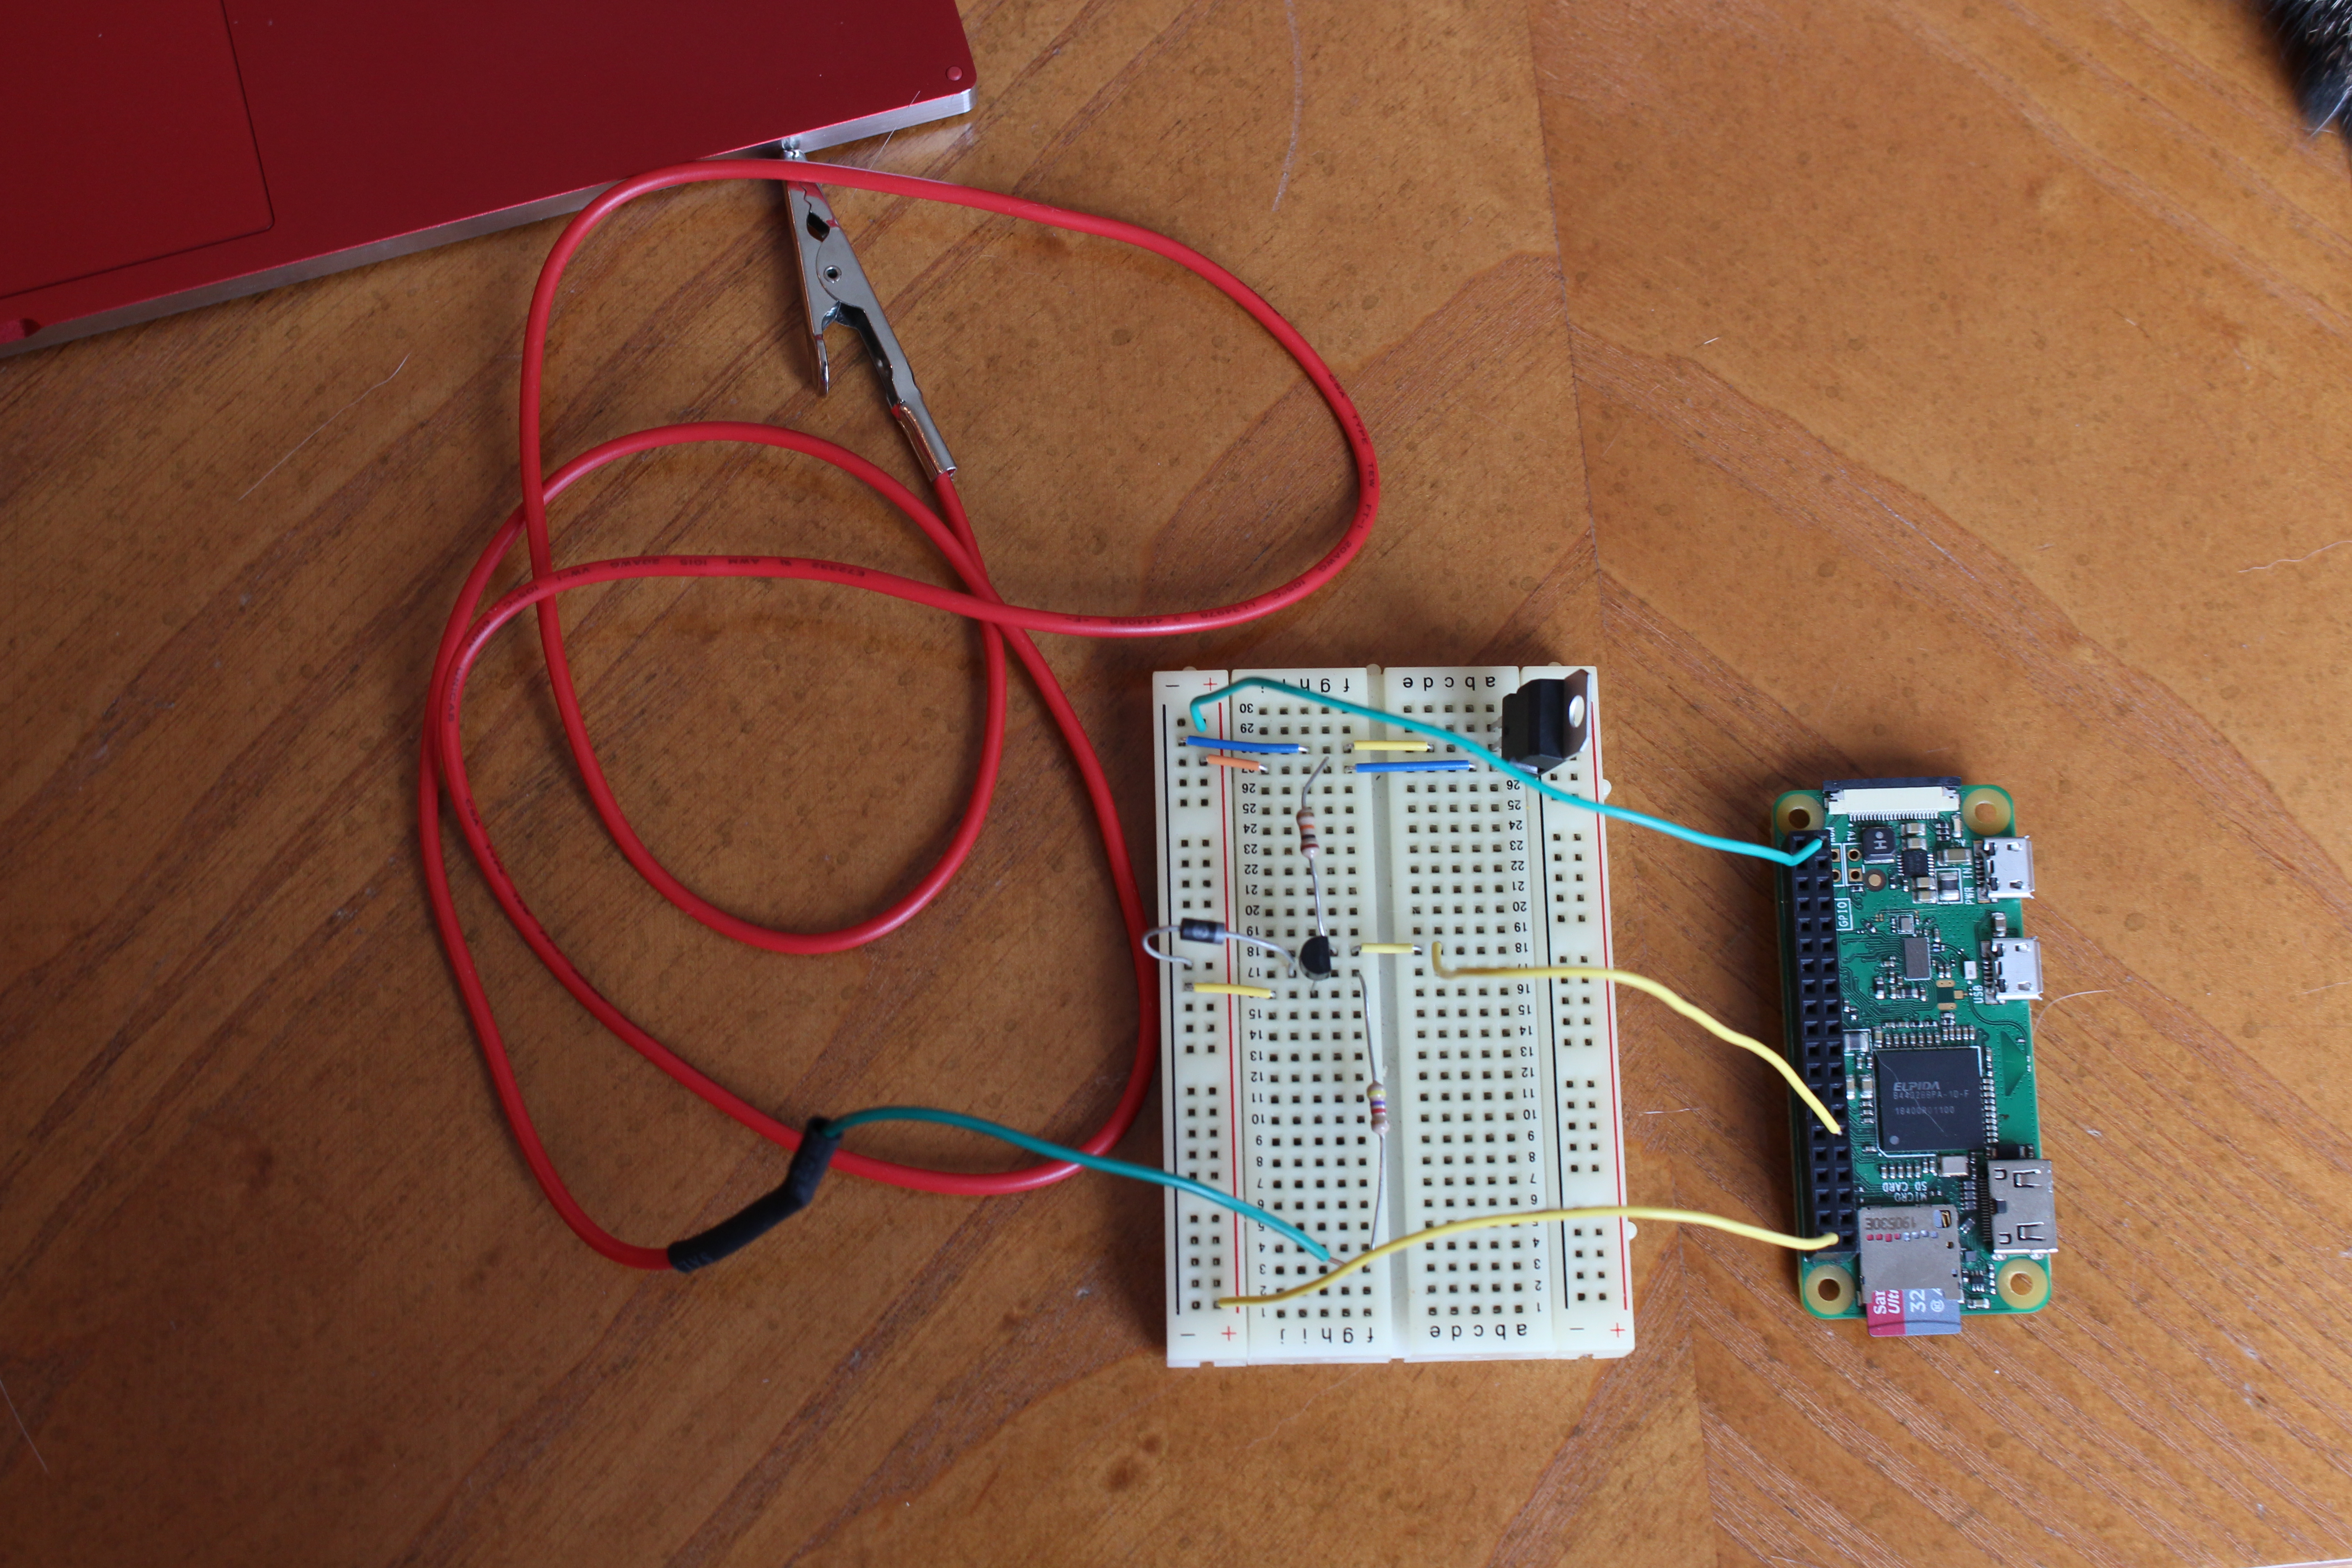
Building the circuit on a breadboard
-
Connecting the circuit to the tachometer signal
Mazda made the tachometer signal very easy to acquire - there’s a screw on the back of the gauge cluster right next to where the car plugs into it that is attached to a trace labeled “h”. Connecting a wire to that screw gets the signal!
-
Getting the computer to read the signals
This is accomplished with a python script. In short, the script ascertains the RPM by interrupting each time it detects a pulse, calculating how long it’s been since it last found a pulse, and finding the frequency of pulses.
-
Transferring the breadboard to a soldered protoboard
I wanted to make the circuit with as compact a footprint as possible, both to avoid needing a bunch of jumpers and to free up space on the board for future functionality. After writing up a board layout from the schematic on graph paper and soldering* the components, I had a working board! *charring
-
Getting the tach signals into a format that can be read by DashWare
This required making a modification to the pulse interrupt script. I wanted to read the signal at fixed, very short intervals, but the interrupt feed only printed when it got a new pulse. The solution - have the interrupt write a global variable, and then read it periodically. It’s not perfect, but if a value is reported twice when it’s being read every twentieth of a second, it’s not really noticeable.
-
Fixing the noise in the signal
The signal has some noise. This leads to spikes occasionally in RPM - the solution here is to just throw out high values. The RPMs should never rapidly spike or drop, so if the value is more than 10% higher or lower from the rpm calculated at the previous interrupt, it’s probably an error and we can just repeat the last value.
-
Powering the Raspberry Pi
The ultimate goal is to wire the Pi into 12v power from the car. Thanks to a cigarette lighter adapter I’d purchased with mislabeled polarity, my first attempt to do so resulted in the release of magic smoke from a voltage regulator. Because that regulator was the only voltage regulator I’d ordered, I elected to instead use USB power from a cell phone charger.
A sub-problem to the power problem is figuring out the best way to shut down the computer. If the computer is just wired to always-on power, it’ll drain the battery. If it’s wired to accessory or on, it’ll turn on every time the car turns on and turn off as soon as the car is shut off, which leads to turning it on when it’s not needed only to unsafely cut power before shutting it down.
I wanted to avoid batteries or large capacitors, because either one in a hot car here in Texas will degrade or become unsafe over time. For now, the solution is to power the computer with a switch off of the radio’s power, so that it can’t drain the battery if left on, and to SSH into the computer to shut down before shutting off the car. In the future, I may initiate shutdown when the tachometer hits zero for an extended time, because the radio wire still can power the computer when the key is turned to accessory.
-
Interfacing with the computer
The last thing to solve was finding a good way to talk to the computer. Perhaps a future version of this uses dedicated buttons to control recording or syncs up with my GoPro, but in the mean time, SSH is fine. My original plan was to use a WiFi chip from a partially-broken OBDII reader to create a network for both a phone and the computer to connect to, but powering multiple devices for an unprotected network using an already unreliable device was not ideal. I looked into SSH over Bluetooth as well, but most implementations I could find would have disabled the Pi’s ability to connect to the internet, which would make future development more difficult.
I settled on a great solution I found here. It uses the Pi’s onboard wifi to create a hotspot to which I can connect my cell phone to SSH - but it only does so if it can’t find my home wifi network within range. When the car is parked in my driveway, it’ll connect to my home network to allow for updates and to transfer log files.
The Rest
Even with this novel of a write-up, not everything is documented here: I didn’t go over the code for either script, walk through using the finished product, or detail very much of the troubleshooting required to get all of this working properly. If you have any questions please feel free to reach out and ask!

